Monday, August 29, 2005

Data Security


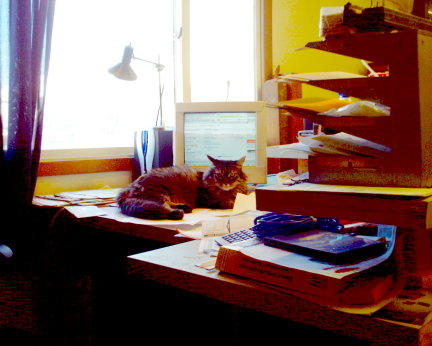
Hello all.....Just wanted to let you know that while Howard and I are off doing other things, the data you have entrusted to us is secure.....we have installed the new security system called CAT (Capture All Trespassers) This is what an intruder would see if they tried to get to the sensitive data stored on my computer. CAT is a new module attached to the VCU (Vermin Control Unit - see July postings) Ulm Orgelwerke is proud to be able to offer this service to our customers......

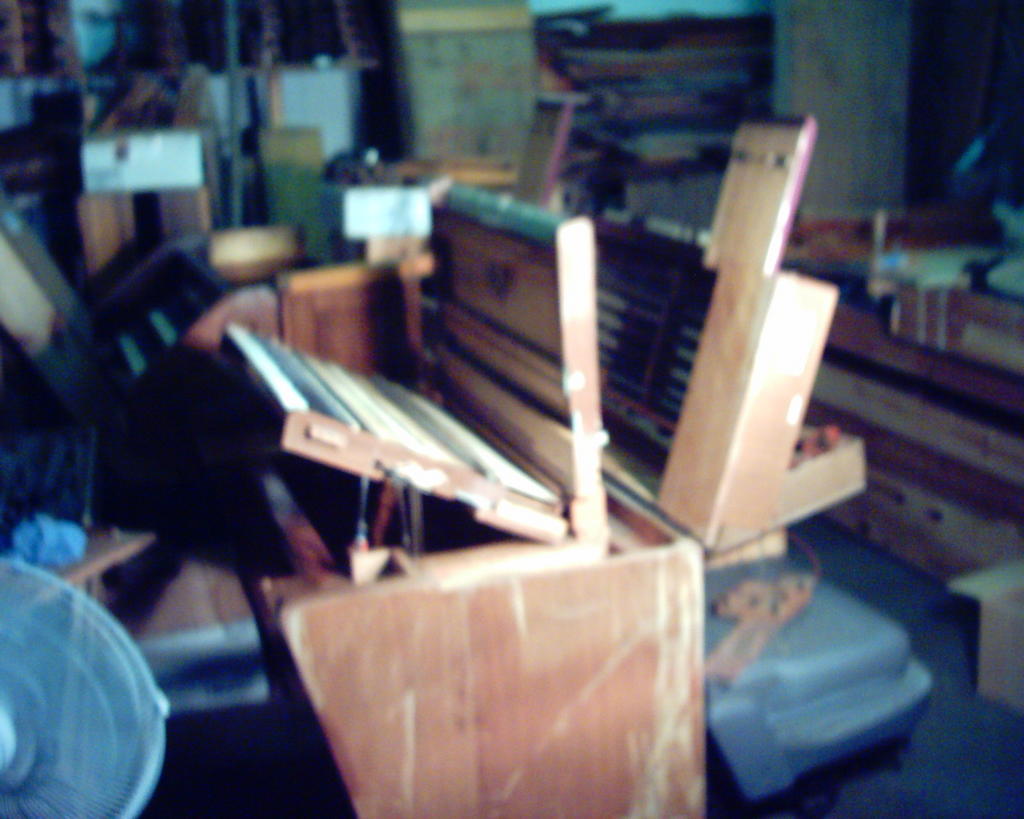
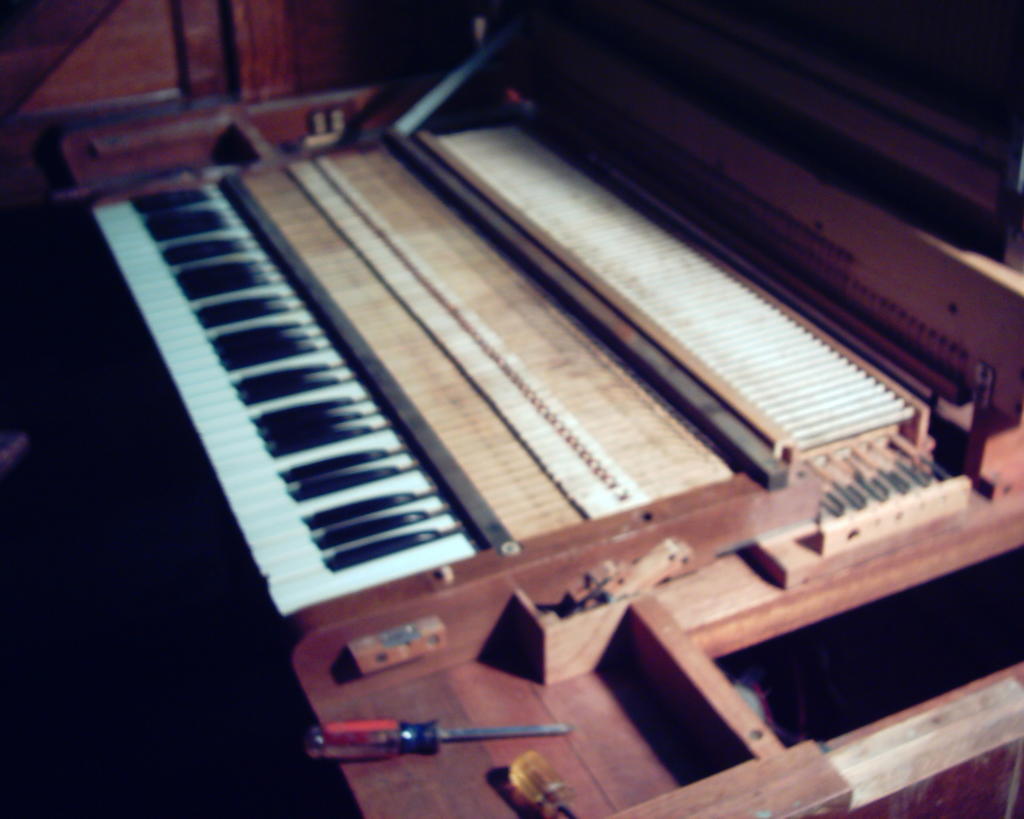
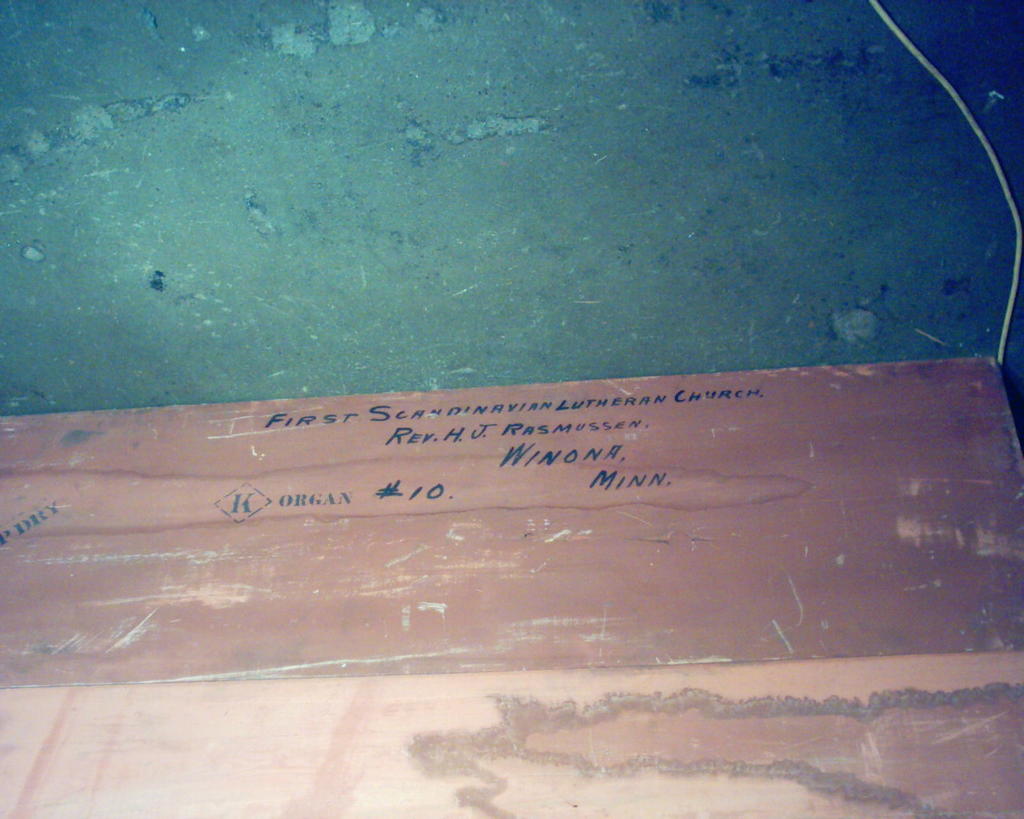
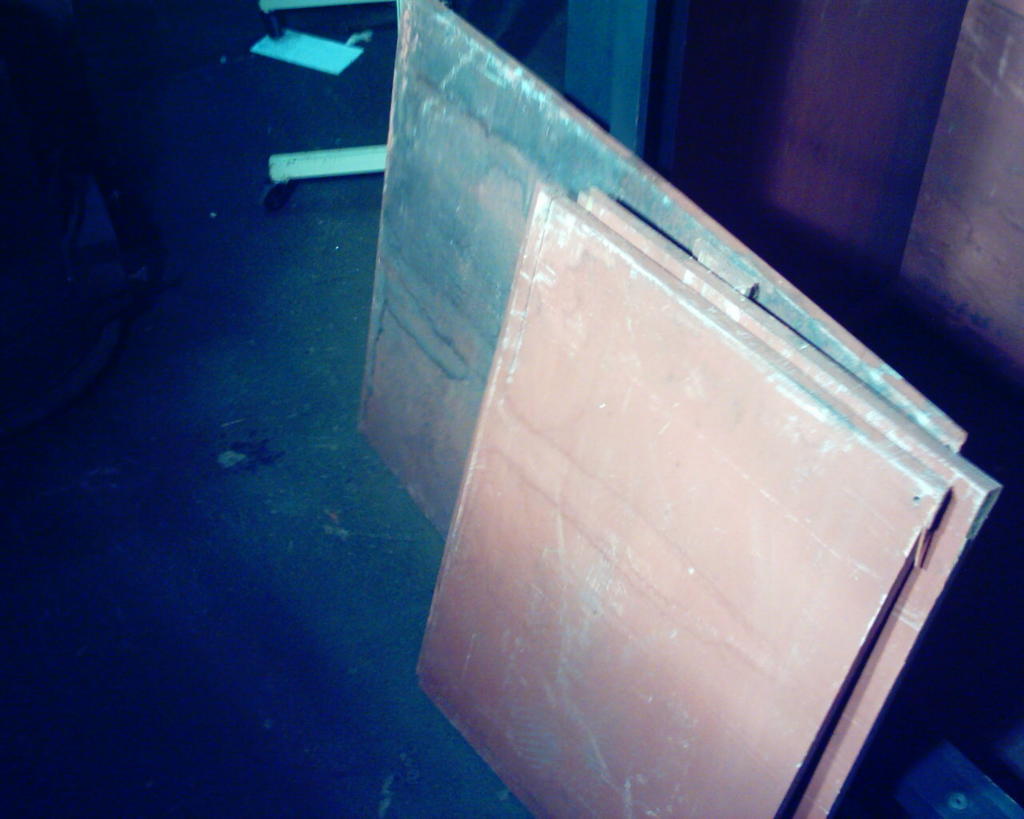
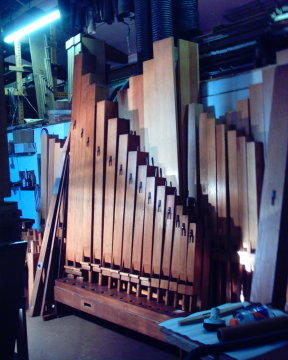
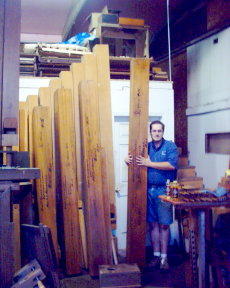
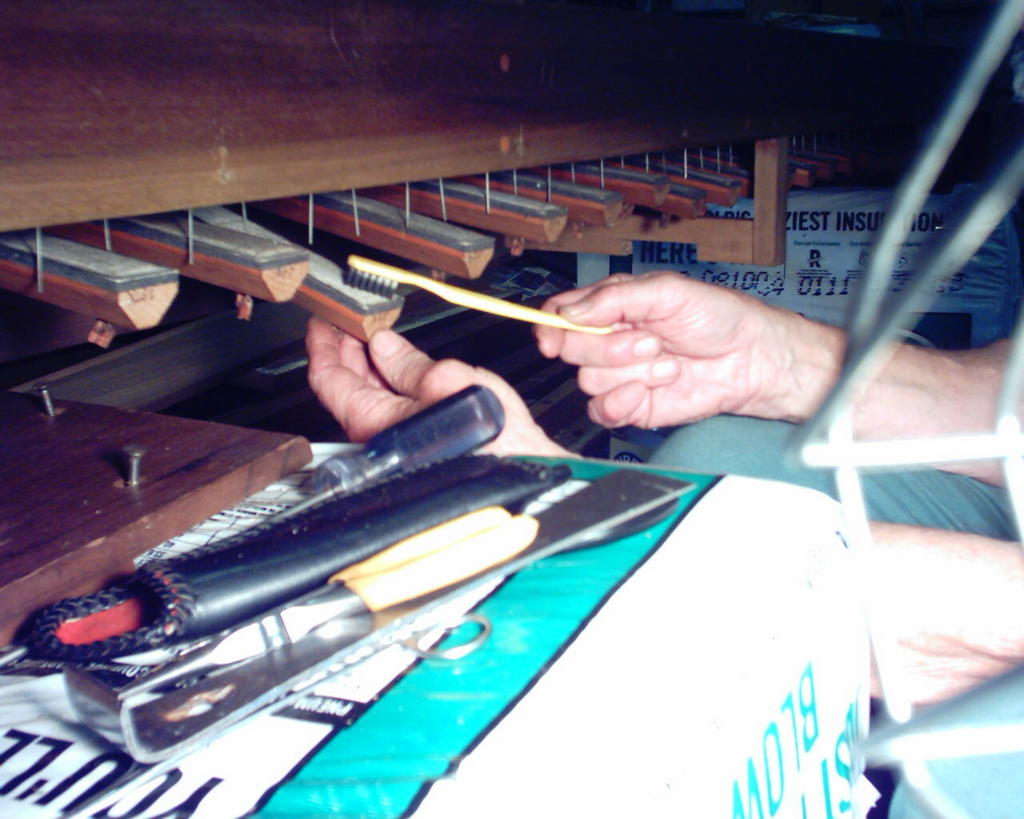
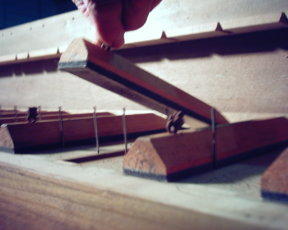
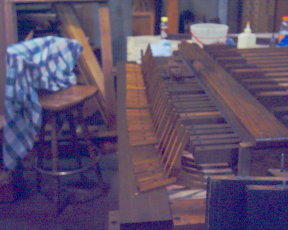
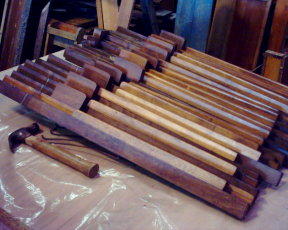
At any rate, we are off to Springfield, MN to secure an organ during a church construction project. We will be removing pipes to safe storage, sealing the swell chamber, great chest, and blower system from dust; and covering the facade of the instrument. There will be pictures this weekend.

Friday, August 12, 2005

Summer Diversions

Well, things are a bit slower here at UO now. The Stone Church Organ is at a stage where we will need some further input from the purchaser to proceed much further.

Howard will be in North Dakota doing some emergency repair work and delivering the console mentioned earlier.

I will be taking some time off to work for another company for few weeks also. I will still be posting regularly.

Monday, August 08, 2005

A Side Trip Completed

This is a picture of the entire console with the top and two keyboards in their extended positions. This way both sides of things are relatively accessible. "Relatively" is a relative term however. Whatever you need to get at will invariably be in the area right around the hinges or some other unaccessible place. The bottom keyboard folds and the top keyboard comes down and then the upper box locks them both in place. This arrangement, or some variation thereof, is the standard way that non-tracker organs are built today.

A Side Trip Continued......

Whew! That was a disgusting job. Anyway, now the keyboard is clean and I can point out some details. As I said before, this is an electromechanical console. That means that both the organist's force and electricity are used to control the instrument. (As opposed to the all-organist or mechanical action of the Stone Church organ that we are working on.)

The fulcrum of the keys is the red and black dots in the center. The return springs are just visible next to the metal bar at the back. Underneath the metal bar are little levers that the keys push up. That moves a contactor bar under the white area to touch one or more metal leads. If a circuit is completed, a note sounds, if not-well, it doesn't. There are one or two other things going on under the white bars, but without clear pictures it is impossible to really explain. Trust me, it works.

A Side Trip.....


Hi there, today I spent the day working on a small project for a customer. They have purchased a "pre-owned" console for a organ project of their own. Unfortuneatly for me, the console had to be cleaned up before it left the shop. Above you can see what an electromechanical keyboard looks like. You can also see the results of some little living creatures who decided to move in during storage. While they have been evicted (VCU is active) it is still a mess.

Where?


In this rotated photo, the original owner of the instrument is clearly visible.

First Scandinavian Lutheran Church
Winona, MN
Rev. H. J. Rasmussen

The Kilgen "K" is also visible. Humorously, the "keep dry" stamp is off to the left.

Restoration Dilemmas


Hi there! Here is an example of the question: "How far do you go when 'restoring' something"? The two pictures here clearly show the damage that water has done to the swell case, so do I take water to "clean" it up? If not, do I leave it dirty?

In this case (no pun intended) I decided to take the lesser route. I have vacuumed off all of the oxidized paint and dirt that I can scrape with the vacuum brush and left whatever I couldn't remove.

The picture on the left is of the top of the swell case. There is clearly still about 30 years worth of dirt there, but to remove any more, I would have to use water. The picture on the right shows what water does to this paint. So, I guess I will say that the dirt is "historical" also.

Thursday, August 04, 2005

Chest Surgery - Part Last


Here is what half the pipes look like on the pedal chest.

The little hole in the front is where the wind connects to the windchest. (For definitions, see the Monday, July 11 posting...after all, you are supposed to be learning something here!)

The hooks on the front will connect to a board down the center to keep the pipes on the straight and level.

The Pipe and I


This is yours truly with the largest and lowest sounding pipe in the organ. It is the lowest "C" of the pedal Bourdon set. When playing, the air inside will be vibrating at about 32 cycles per second. Three of the next four pipes are leaning against the set of pipes on the wall.

For a sense of scale, I am about 6'5" in height.

Not really visible are the markings on each one. They are identical and read:

First Scandinavian Lutheran Church, Winona, MN

Yep, that is the church that originally bought the instrument in 1909-1910. If anyone out there can help us find some information about this congregation, email me at: organ2@iw.net

Chest Surgery - Part Third

In this picture we have flipped the chest right side up and Howard is cleaning/buffing the leather seals on the pallets. Note the dirt on the pallets on either side of Howard's hand. Ick....do I have to repeat the "keep the wind clean" speach again?

Chest Surgery - Part Second


Howard is holding up one of the pallets. It is made of wood, felt, and leather. This is the number one reason we are always harping on keeping the wind clean. One small piece of sawdust will lodge in the felt and then the pallet can not seal completely. You now have air leaking wear it isn't supposed to be. This causes noise and irritation to anyone listening.

Once again, this chest is upside down. Normally, a pallet spring holds the pallet closed against gravity. Here the springs and rail have been removed for cleaning.

Cue next slide......

Chest Surgery - Part First


Here is a picture of the pedal windchest with its bottom boards removed. The pallets are clearly evident.

A Real Sticking Point


Ok, so it was a bad joke, I'm an organbuilder-it is part of the job description.......

The picture at left shows the relationship of the keys to the stickers. You press a key, the sticker moves up, presses one end of the rocker arm up and the other moves down, and pulls the pallet down admitting wind to the pipe.

The picture at right shows a bit more of the stickers themselves. They are nothing but wooden dowels with tiny rods drilled into them. We add a red felt washer for noise control and a little bit of wear reduction.

In both pictures the rollerboard is evident. For reasons of space and centering, it is desirable to split the bottom octave of pipes into two sections. Unfortunately, most musicians insist on having sequential note orders, so some way has to be found to move the motion to the opposite side....enter the rollerboard. Here, every other key connects to one end of the rollerboard, just visible at the opposite end is the connection to the proper rocker arm. It is the same process with a horizontal shift. (aye, organists are shifty folk.......)

(No, I have not yet cleaned the keys themselves, that is much later......)

Some more definitions:

Rollerboard: A device that uses rollers to move the physical force from the trackers in a horizontal orienation.

Rocker Arm: A device to move the physical force from the keys along a horizontal plane.

Sticker: A vertical tracker. Usually used when the distance travelled is less than 6 inches.

Pedals Part Four....


After much Murphy Soap, Lemon Oil, Bees Wax, and Graphite the pedalboard is back together and looking new.
In the picture on the left you can just see the newly leathered pin near the top center. The variantions in color that are visible on the pedals illustrate one of the problems of restoration: how far do you go? While I could have removed all the dirt from the pedals, I would have probably taken the finish with it. So, to save some authenticity, I have used the same process for each pedal and just left it that way.

In the picture on the right the pedal board and first pedal square rail have been positioned in the approximate relationship to each other. When fully assembled, the squares will connect to the pedals with a short sticker. They will also connect to the second square rail at the back of the instrument from the top. The resulting action will be that the pedal is pressed down, the square will pull on the tracker, the correct square on the second square rail will be pulled forward, the square will pull the pallet down, and hopefully a reasonably musical sound will come from the pipe.

For those that missed them, here are some definitions:

Square: A wood or metal device that changes the orientation of the physical energy carried by trackers.

Square Rail: A frame that holds a number of squares in the proper position.

Pallet: the supports and sealing surface of the device that blocks or allows air to the pipes.

Tracker: the physical device (usually a long thin piece of wood) that connects the key to the pallet.

Down and Dirty......


The pedals have been removed from their (very dirty) frame and are ready for cleaning. The spring that keeps the pedal up is visible under the first one near the hammer. Note the wear marks on the left end. This is where the old leather had actually worn away some of the wood of the pedal. Uh, I think we better fix that, Howard.........

Tuesday, August 02, 2005

Technical Difficulties.....

Technical Difficulties...please stand by

How many of us are old enough to remember that phrase from the pre-cable tv era?

Anyway, we have had some technical difficulties with our internet service and are now (hopefully) back up and on-line. (Expect a LOT of new content in the next 24 hours or so....)